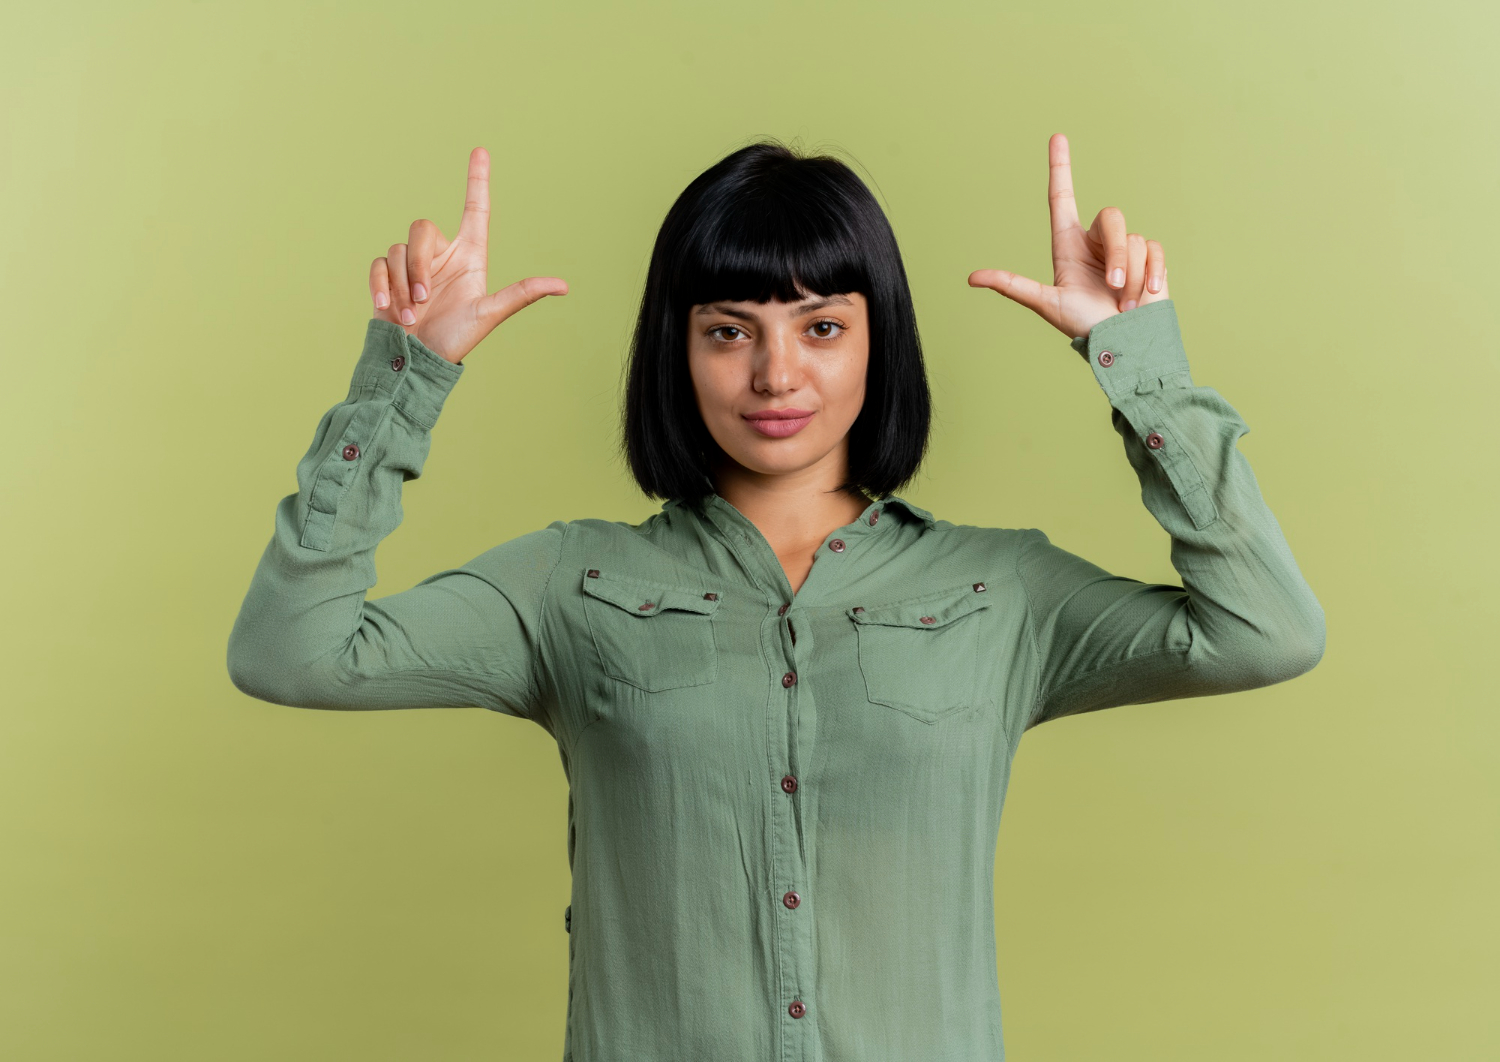
In modeling, every pose is a strategic decision. Each angle, twist, and tilt carries the potential to emphasize beauty, mask flaws, and express emotion. Using angles to flatter your features isn’t just a useful trick, it’s a foundational skill that separates amateur shots from professional masterpieces. Whether you’re on a commercial set, preparing for a test shoot, or building a portfolio, learning how to work your angles can completely transform the results.
Why Angles Matter in Modeling
Every model has unique facial structure and body proportions. What works for one might not work for another. That’s why using angles to flatter your features is so critical. It’s about highlighting your strongest elements and bringing out your best self in each frame. I’ve found that even small shifts, lowering a chin, raising a brow, leaning a shoulder, can drastically change the final look of an image.
A camera captures in two dimensions, so we’re essentially creating illusions of depth and balance. The wrong angle can flatten the face or make limbs appear awkward. The right angle, however, defines cheekbones, elongates the neck, sharpens the jawline, and enhances posture. When used deliberately, angles help a model stand out and convey their versatility.
Knowing Your Best Side
Everyone has a “best side,” even if they haven’t figured it out yet. A best side doesn’t mean the other side looks bad, it’s just the one where your natural symmetry, expression, and bone structure align most flatteringly. To identify mine, I started by standing in front of a mirror and slowly rotating my face from side to side. I noticed that on my left side, my jaw looked more defined, and my eyes appeared brighter. From then on, I made sure to favor that side unless a client specifically requested otherwise.
Taking test selfies under natural light from different angles also helped me understand my facial balance. I recommend doing this with neutral expressions and slight tilts. Even subtle changes can reveal which angles best suit your face.
Highlighting Your Bone Structure
Once you know your best side, the next step is mastering how to use angles to bring out your features. For high cheekbones, for instance, a slight three-quarter turn with the face angled downward can cast soft shadows that accentuate the hollows beneath. Tilting the head slightly and elongating the neck also highlights the collarbones and gives the illusion of a longer, leaner silhouette.
If you have a strong jawline, facing the camera straight on or with a slight downward tilt can emphasize it beautifully. Meanwhile, softer jawlines benefit from poses where the chin is slightly pushed forward and downward, creating definition where there isn’t much naturally.
Controlling Chin and Neck Placement
I learned early on that the position of the chin plays a big role in shaping a photograph. Tucking it too low can cause the dreaded double-chin effect, while raising it too high exposes the neck in an unflattering way. Instead, I push my chin slightly forward and down, like a turtle extending its neck. It might feel awkward, but it gives the illusion of a stronger jaw and cleaner neckline in photos.
When posing, I also focus on elongating my neck. Whether I’m sitting or standing, I imagine a string pulling me upward from the crown of my head. This stretches the spine and improves posture, which naturally enhances facial angles and body lines.
Finding the Right Angle for Your Face Shape
Different face shapes respond differently to camera angles. Oval faces, which are fairly symmetrical, often work well from nearly any direction. But if your face is rounder like mine, angling it slightly and avoiding direct, straight-on shots can help slim the look. Heart-shaped faces look great with a slight upward tilt, which softens the chin and draws attention to the eyes. Square faces benefit from soft side angles that reduce the appearance of strong jawlines.
To practice this, I set up my phone on a tripod and took several shots rotating my face in 15-degree increments. It was eye-opening to see how dramatic the difference could be from one angle to another.
Using Angles in Full-Body Shots
Angles don’t just apply to facial expressions, they’re just as important in full-body poses. Standing straight and flat to the camera can make your body look wide and stiff. But a three-quarter turn, with one foot slightly in front of the other and the weight shifted to the back hip, creates shape and flow.
I also play with shoulder placement. Slightly dropping one shoulder and raising the other adds dimension. When I’m sitting, I lean slightly forward from the waist, elongating the torso and drawing the viewer’s eye toward my face. The idea is always to create curves, lines, and visual interest.
Camera Height and Lens Distortion
The photographer’s position also influences how angles work. A camera shot from below tends to make the subject look taller and more powerful, which can be great for editorial work. However, it can also exaggerate the jaw and make the nose appear larger. On the other hand, shooting from above can make you look smaller and more delicate, which might suit beauty or lifestyle shoots.
I communicate openly with photographers to understand the look they’re aiming for. If they’re shooting from a lower angle, I adjust my posture and face tilt to make sure the results flatter my frame. Being aware of lens distortion, especially with wide-angle lenses, is another trick I keep in mind. These lenses can stretch features near the camera, so I stay centered or avoid placing extremities (like hands or feet) too close to the lens.
Creating Visual Symmetry
Symmetry is appealing to the human eye. In modeling, it’s not always about literal symmetry, but rather visual balance. I use angular poses to lead the eye through the image in a harmonious way. Crossing one leg over the other or placing a hand on the opposite hip can create pleasing diagonals. These lines guide the viewer’s gaze from the top of the frame to the bottom and back up again.
In headshots, I frame my face by tucking hair behind one ear and letting the other side fall naturally. In full-body shots, I avoid letting my limbs dangle without purpose. Every angle has a job, to shape the body, to tell a story, or to evoke emotion.
Practicing Angles in Front of a Mirror
Like any skill, mastering angles requires practice. I set aside time regularly to pose in front of a full-length mirror, trying out new hand placements, leg angles, and facial expressions. I observe how light falls on my features and which angles enhance the look I’m going for.
To train muscle memory, I repeat the same poses multiple times and take notes on what feels natural versus what looks good. Over time, this helped me build a mental library of “go-to” angles I can rely on in a pinch. This also helps when I need to make quick adjustments on set or improvise during fast-paced shoots.
Adjusting Angles Based on Lighting
Lighting and angles go hand in hand. The way light hits your face and body will either enhance or neutralize your angles. For example, side lighting can create sharp shadows that contour the cheekbones, while flat lighting minimizes depth and texture. I always ask about the lighting setup before I begin posing so I can angle my face accordingly.
When I work with natural light, I position myself so that it hits me at a 45-degree angle. This setup highlights my bone structure while keeping the expression soft. If I’m working with harsh studio lights, I often angle my body away from the strongest light source to avoid blown-out features or unflattering shadows.
Using Props and Environment to Enhance Angles
Props can also be used strategically to emphasize angles. Leaning on a chair, arching over a railing, or resting an elbow on a table allows the body to bend and curve in dynamic ways. I love using walls or corners to create shapes with my limbs and torso. Props also help relax the body, making the pose feel more organic.
Outdoors, I use natural elements like stairs, ledges, or tree trunks to break up the body’s lines and offer more angles. Even shifting weight between feet or playing with hand placement can make a big difference when interacting with your surroundings.
Building Confidence With Every Pose
Using angles to flatter your features isn’t about hiding behind poses, it’s about bringing out your personality in the most powerful way. Confidence is the thread that ties every pose together. When I feel strong in my body and clear in my intention, that energy comes through the lens. Angles give me tools to support that confidence, but it’s my self-awareness that gives those tools meaning.
Each session I’ve had, whether in front of a seasoned fashion photographer or at a casual casting call, has taught me how to harness my angles to elevate the final image. It’s a skill that pays off not only in photos but in auditions, campaigns, and editorials.
Conclusion
Mastering angles is like learning a new language. At first, it may seem mechanical, turn this way, tilt that, but eventually it becomes second nature. With time and practice, you’ll know how to move intuitively in front of the camera, expressing your unique features through shapes and lines. Using angles to flatter your features gives you the edge in a competitive industry and allows you to take control of your image. Your face and body are your instruments. Use them with precision, grace, and intention, and you’ll never miss a shot.

